Start with a photo that fits the image you want
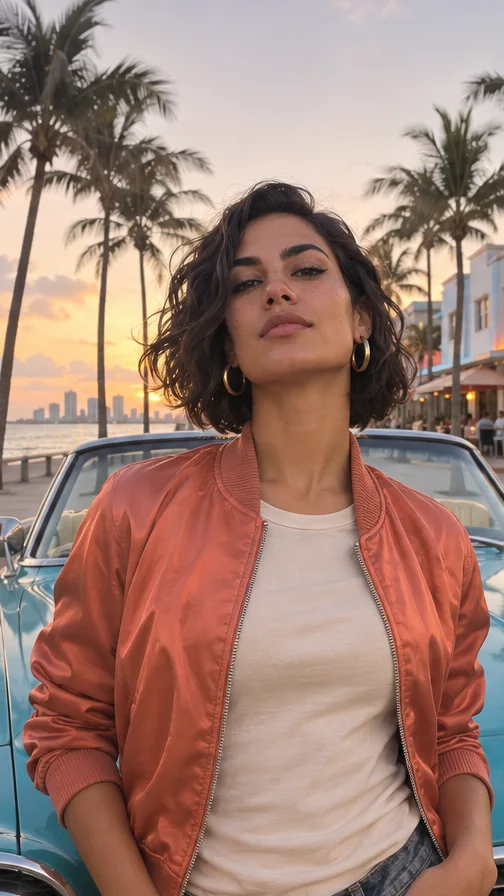
For an avatar or character poster, use a photo where the face takes up enough of the frame to see the eyes, nose and hairline. A front or three-quarter view in soft, even light is a good starting point. Try a different photo if the face is mostly in shadow, the camera is too far away or a phone filter has already changed the skin texture. If a jacket, glasses or hairstyle is part of the look, make sure those details are visible in the source.
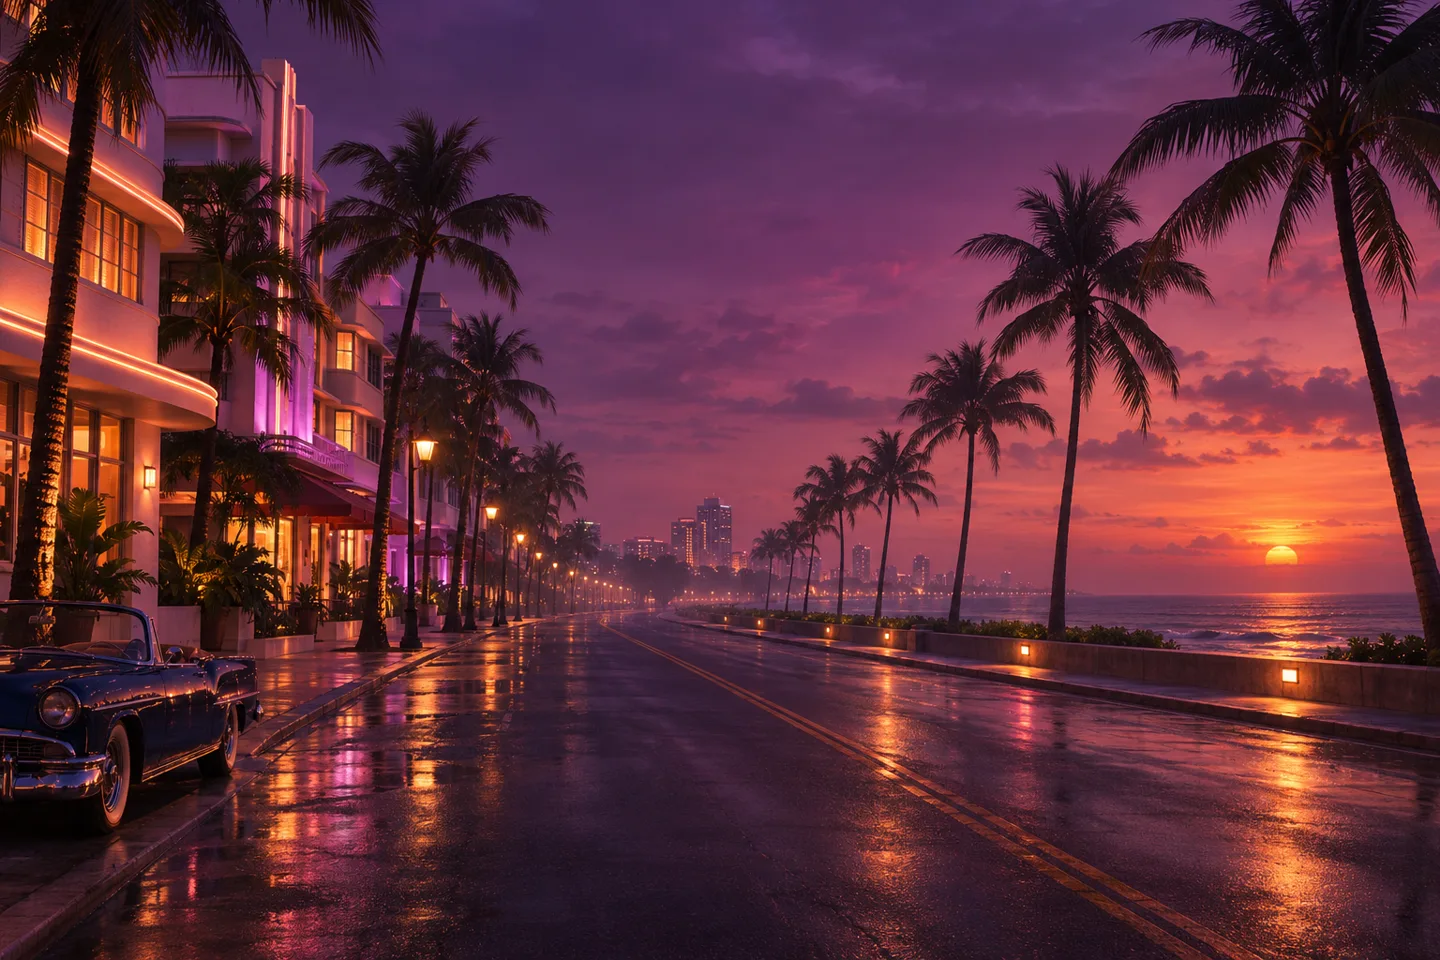
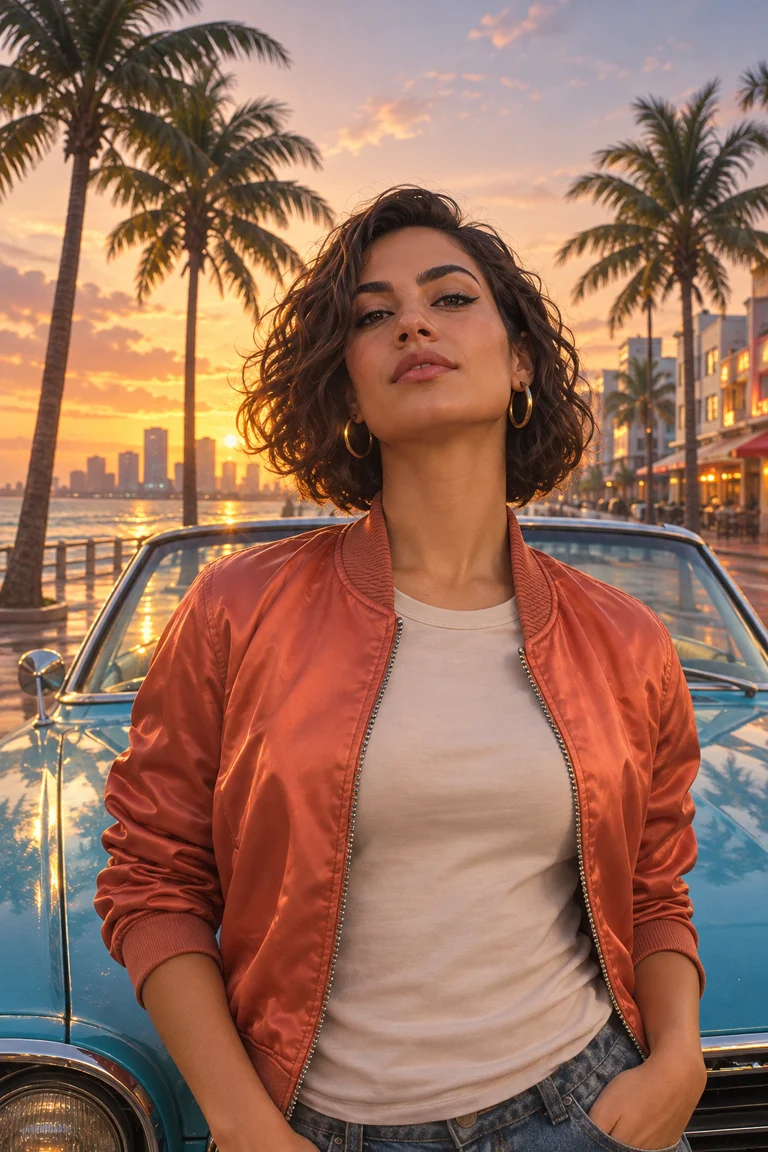
For a gameplay still, choose a street, travel or car photo with a clear foreground and background. Think about the camera position you want to keep. An eye-level photo works for a street scene, while a lower angle can make the character feel closer to the camera. Crop out people you do not want in the finished frame before uploading. A tighter edit at this stage gives the model fewer subjects to interpret.
Tell the model what to keep and what to redraw
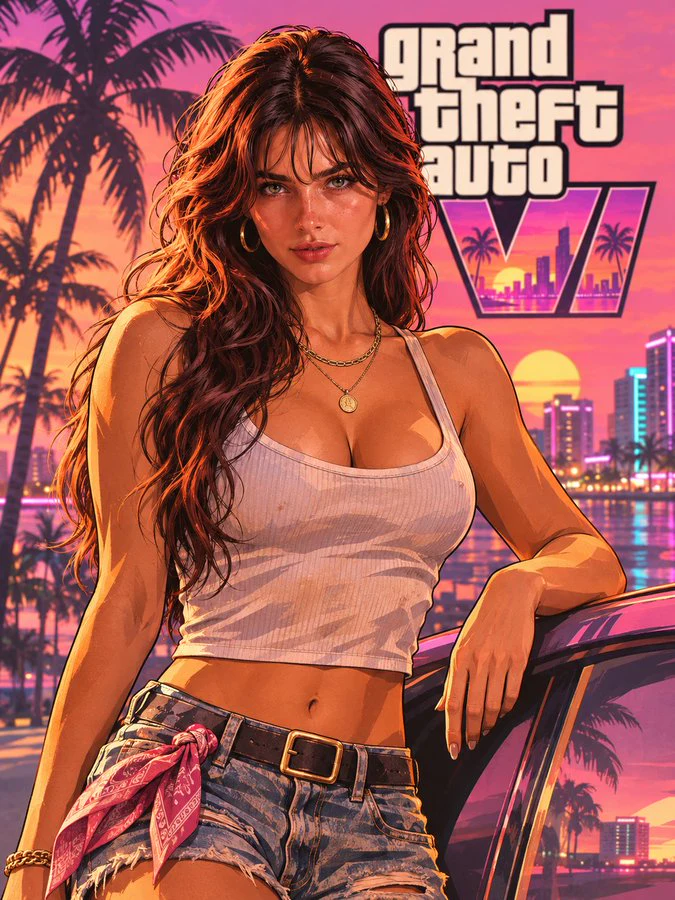
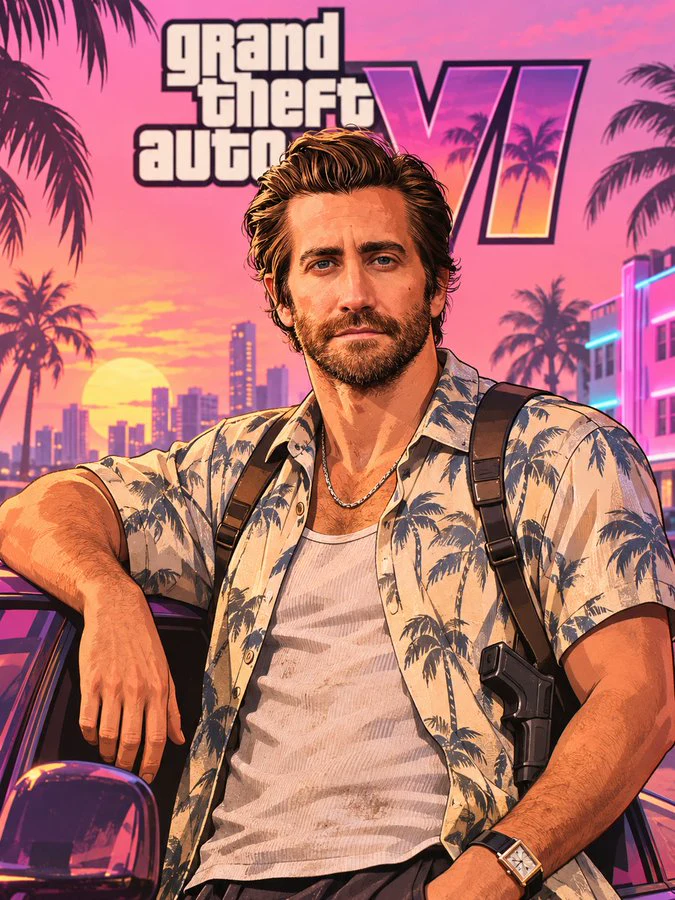
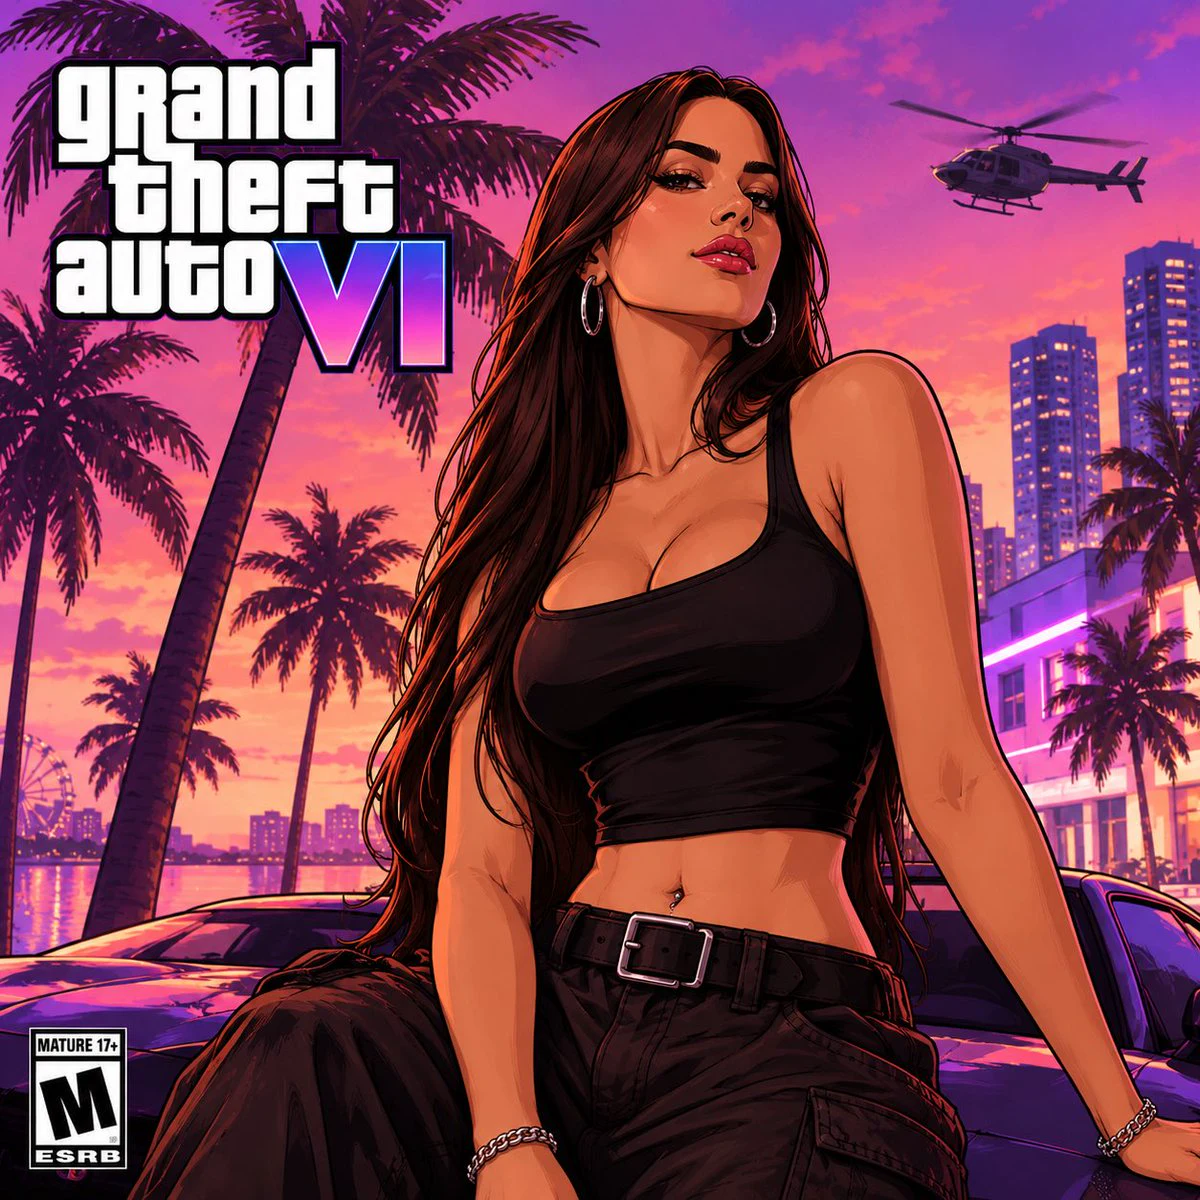
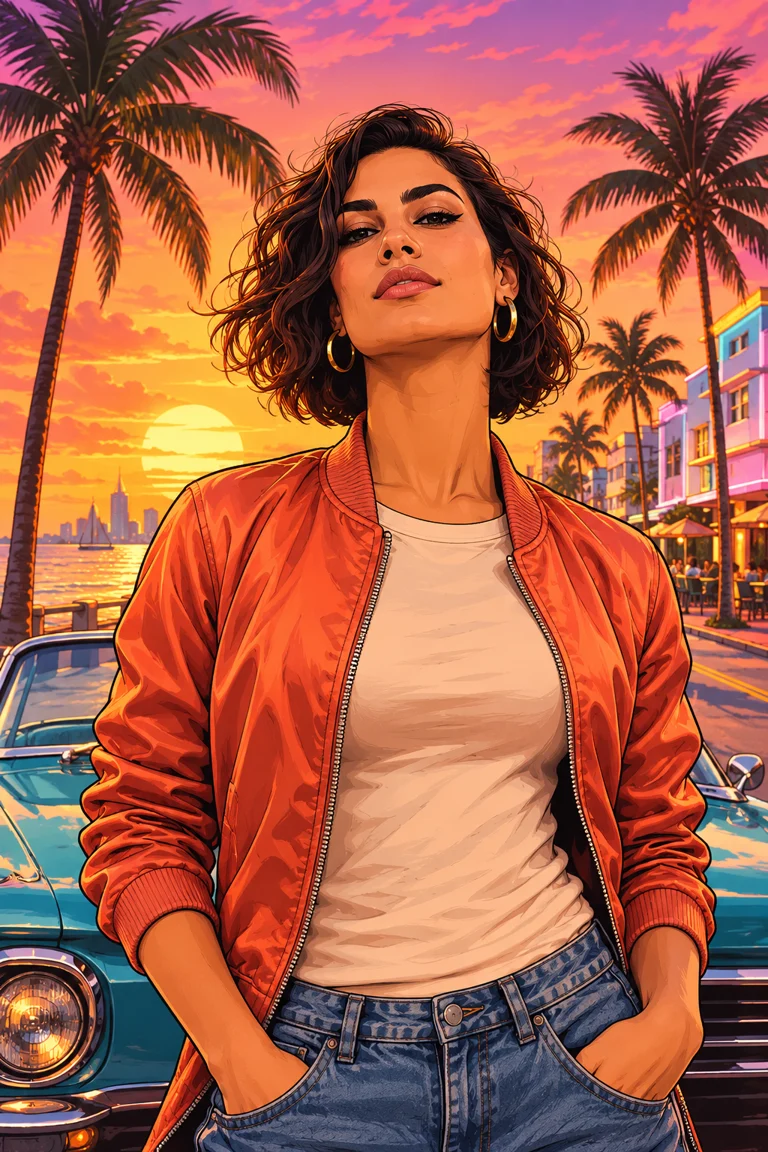
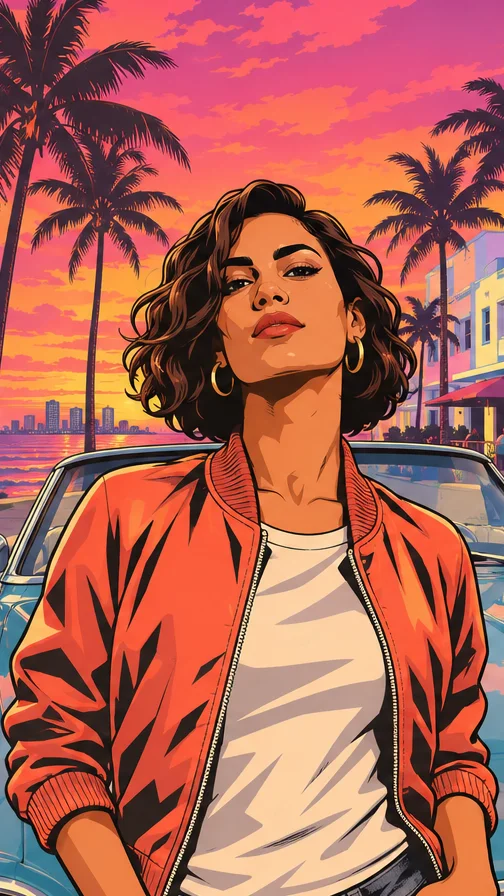
Start from the loading-screen or gameplay prompt and change one part at a time. Keep a short instruction near the beginning that names the features you care about, such as your face shape, expression, curly hair and red jacket. Then describe the change you want. For a poster, specify clean ink lines and broad areas of shadow. For a 3D frame, describe materials and how light falls on them. A request for streetlights reflected on a wet road gives the model a more concrete cue than a general request to make it cinematic.
You can also describe where the person should appear in the image. For a poster, try a waist-up crop with the subject near the center and palm trees framing the sides. For a gameplay image, ask to keep the original camera angle and leave the car in the background. When an instruction asks to preserve the framing, choose an output ratio close to the source if the framing matters to you.
Pick an aspect ratio before picking a resolution
Choose 1:1 when the image is going into a square profile or feed slot. A 2:3 image gives a character poster more room above and below the subject. Use 9:16 for a phone screen or a vertical cover, and 16:9 for a wide scene where the location matters as much as the person. The settings menu updates the available ratios when you change the resolution. Check the ratio shown on the editor before generating, especially if you have switched tiers.
Use 1K to try the photo, setting and composition first. Move to 2K or 4K when you want more pixels for cropping or a larger display. The final pixel dimensions depend on the ratio and the result returned by the model. In our 2:3 tests, the 2K file measured 1536 × 2304 and the 4K file measured 2336 × 3520. You can see the dimensions of your own image below the preview after generation.
Review the result before spending credits on another version
Look at the face at the size people will actually see it. For an avatar, zoom out until the image is small and check whether the silhouette and expression still read clearly. For a 3D still, zoom in on the hands, the edge of the hair and the parts of the background you wanted to preserve. Pay special attention to areas where two objects meet, such as a hand resting on a car door. Compare those details with the original before deciding what to change.
If the face drifted, swap in a clearer reference or keep the original pose and ask the model to preserve the features that changed. If the background is too busy, describe a simpler setting and reduce the number of objects in the prompt. If you only want a different color palette, name the colors and leave the other instructions as they were. Running a small revision at 1K makes it easier to judge whether your change helped before committing to a larger file.
Save a version that works for the place you will share it
Download the generated image from the result area so you have the full-size file. Check the saved image in the app where you plan to use it. A good phone wallpaper can still place the face under the clock, and a square avatar can lose its corners when a profile turns it into a circle. Leave a little space around the face and other important details so the crop works in context.
For a before-and-after post, use the same shape for the original and the result. If the head is roughly the same size and position in both images, the viewer can read the style change immediately. Keep a copy of the original photo and the prompt you used. If you want to make another character poster later, you can keep the composition and lighting instructions and change the setting or the outfit in a single pass.